Soundproof Room Sound Leakage Guide 2026 | Manual for Identification and Step-by-Step Improvement
Is your soundproof room still leaking sound? Learn how to identify physical causes using AI noise analysis and follow a step-by-step manual from gap sealing to professional-grade vibration isolation.
“I spent a fortune on a soundproof room, but my family is still complaining.” “I’m terrified of sound leaking out during my late-night practice.”
If you have these concerns, rest assured. Sound leakage in a soundproof room always has a “Physical Cause,” and most issues can be solved by following a proper step-by-step process.
Sound behaves like water. Even if you block it with heavy walls, it will burst through if there is a hole as small as a needle.
In this article, we present an “Improvement Manual” that utilizes the latest 2026 diagnostic tools to maximize your Return on Investment (ROI).
Sound Leakage is All About “Gaps” and “Vibration”
The reason professional performance drops by more than 10dB is rarely a major defect. Usually, it is a “tiny gap” invisible to the eye or “structure-borne noise” traveling through the walls.
Diagnosis via AI Analysis : Finding the “Exit Points”
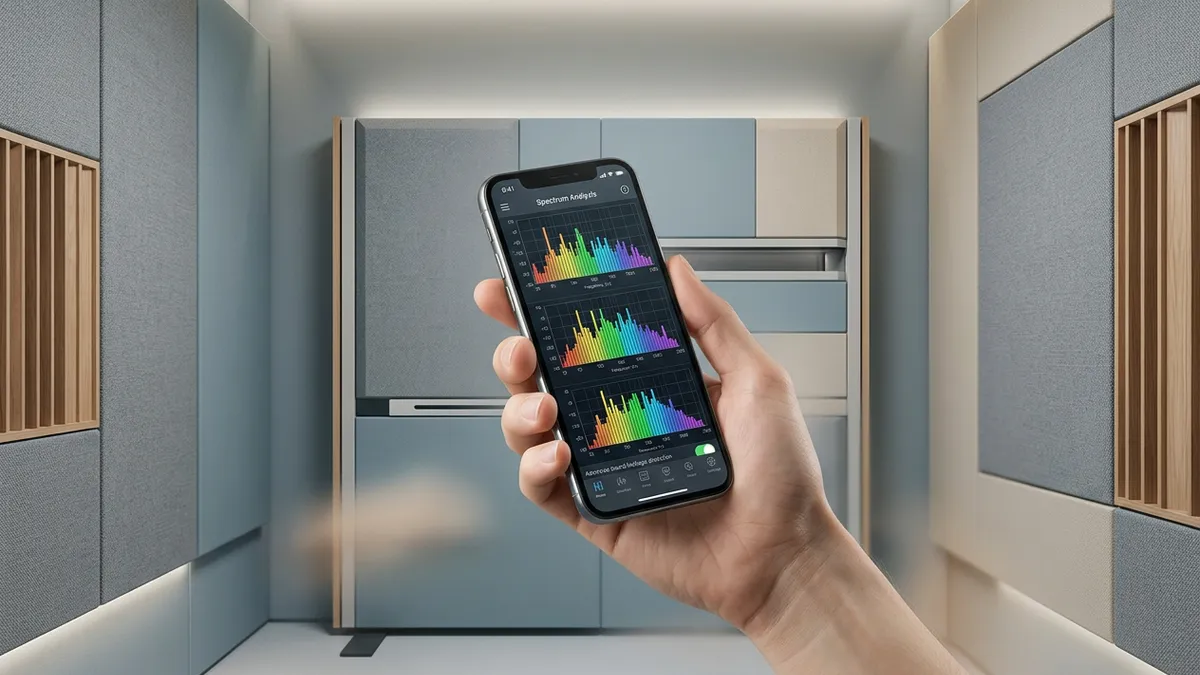
First, it is essential to identify “where” the sound is leaking. In 2026, smartphone AI analysis apps can provide precision diagnostics comparable to professionals.
- Frequency Spectrum Analysis (e.g., AcousticScope) : Visualize whether the leaking sound is “High-pitched” or “Low-pitched.”
- High-pitched leaks : Caused by “Lack of Airtightness (Gaps).” Suspect door gaskets or cable ports.
- Low-pitched leaks : Caused by “Lack of Mass” or “Resonance.” You may need additional acoustic or damping materials.
- Rank Determination via Measurements : If the interior is 90dB and the exterior is approx. 50dB, it is Dr-40 (Excellent) . If it is 65dB, it is Dr-25 (Requires Improvement) .
Location Checklist : Turning Weaknesses into Strengths
Crush the “Weak Points” where sound easily escapes, starting with the highest priority.
Check the “Airtightness” of Door Gaskets
The door is the largest moving part and the most common source of gaps.
Set a light inside the soundproof room in a dark outer room and check for light leaks. Where light leaks, sound leaks.
If the gaskets have deteriorated, perform a full replacement or add D-shaped gap tape to increase the seal.
”Silencing” Ventilation and AC Ducts
Ventilation holes are “perfect exits” for sound.
While you cannot stop ventilation, you can attenuate sound while maintaining airflow by making the duct interior zigzag or installing a post-purchase “Silencer Box (Chamber).”
Insulate “Structural Vibration” Traveling Through Floor and Walls
If speakers or instruments touch the floor directly, sound travels as vibration through the building’s skeleton to distant rooms.
Using insulators or high-density rubber mats for “Surface Decoupling” is the decisive move to prevent neighbor trouble.
Step-by-Step Improvement Plan to Maximize ROI
Advance your improvements in these three phases according to your budget and goals :
| Phase | Specific Actions | Expected Effect | Est. Budget |
|---|---|---|---|
| Phase 1 | Gap tape repair / Layout changes | 1-3dB improvement / Peace of mind | Under $100 |
| Phase 2 | Full gasket replacement / Adding absorbers | 5-10dB improvement / Daytime activity possible | $300 - $800 |
| Phase 3 | Upgrade to silenced ventilation unit | 15dB+ improvement / Midnight practice possible | $1,500+ |
Conclusion : Persistent “Gap Sealing” Revives Soundproof Performance
In soundproof room improvement, the priority is not flashy renovation, but the “Obsession to crush a 1mm gap.” Start with $10 gap tape and move up the phases while verifying effects with AI apps. This is the smartest way to achieve silence.
Gain the confidence that “I can take measures myself,” and your fear of sound leakage will disappear, allowing you to immerse yourself in streaming or practice once again.
Note : When increasing airtightness, always ensure ventilation is running to prevent oxygen deficiency or heatstroke.